Archive 2014: Desktop Rotocaster

Searching for ways to replicate 3D prints

So you’ve got your 3D printed prototype, what’s next?

With the popularity of DIY 3D printing, you now have the ability to create one 3D object in a relatively short amount of time, but printing multiple objects is still a time consuming process.

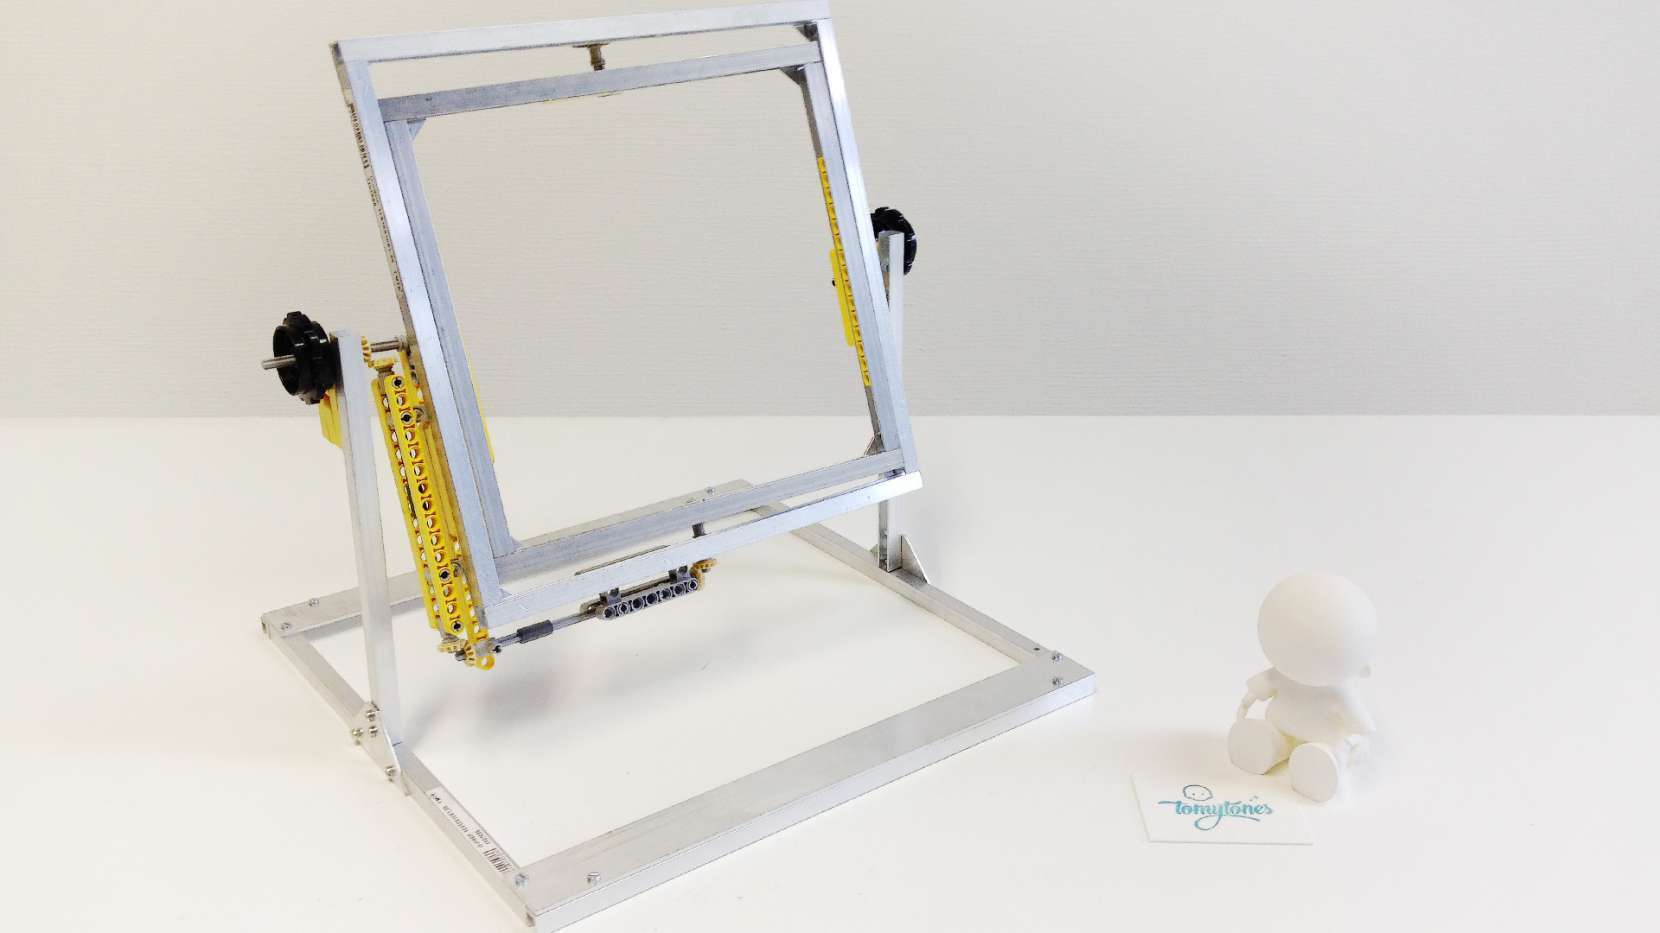
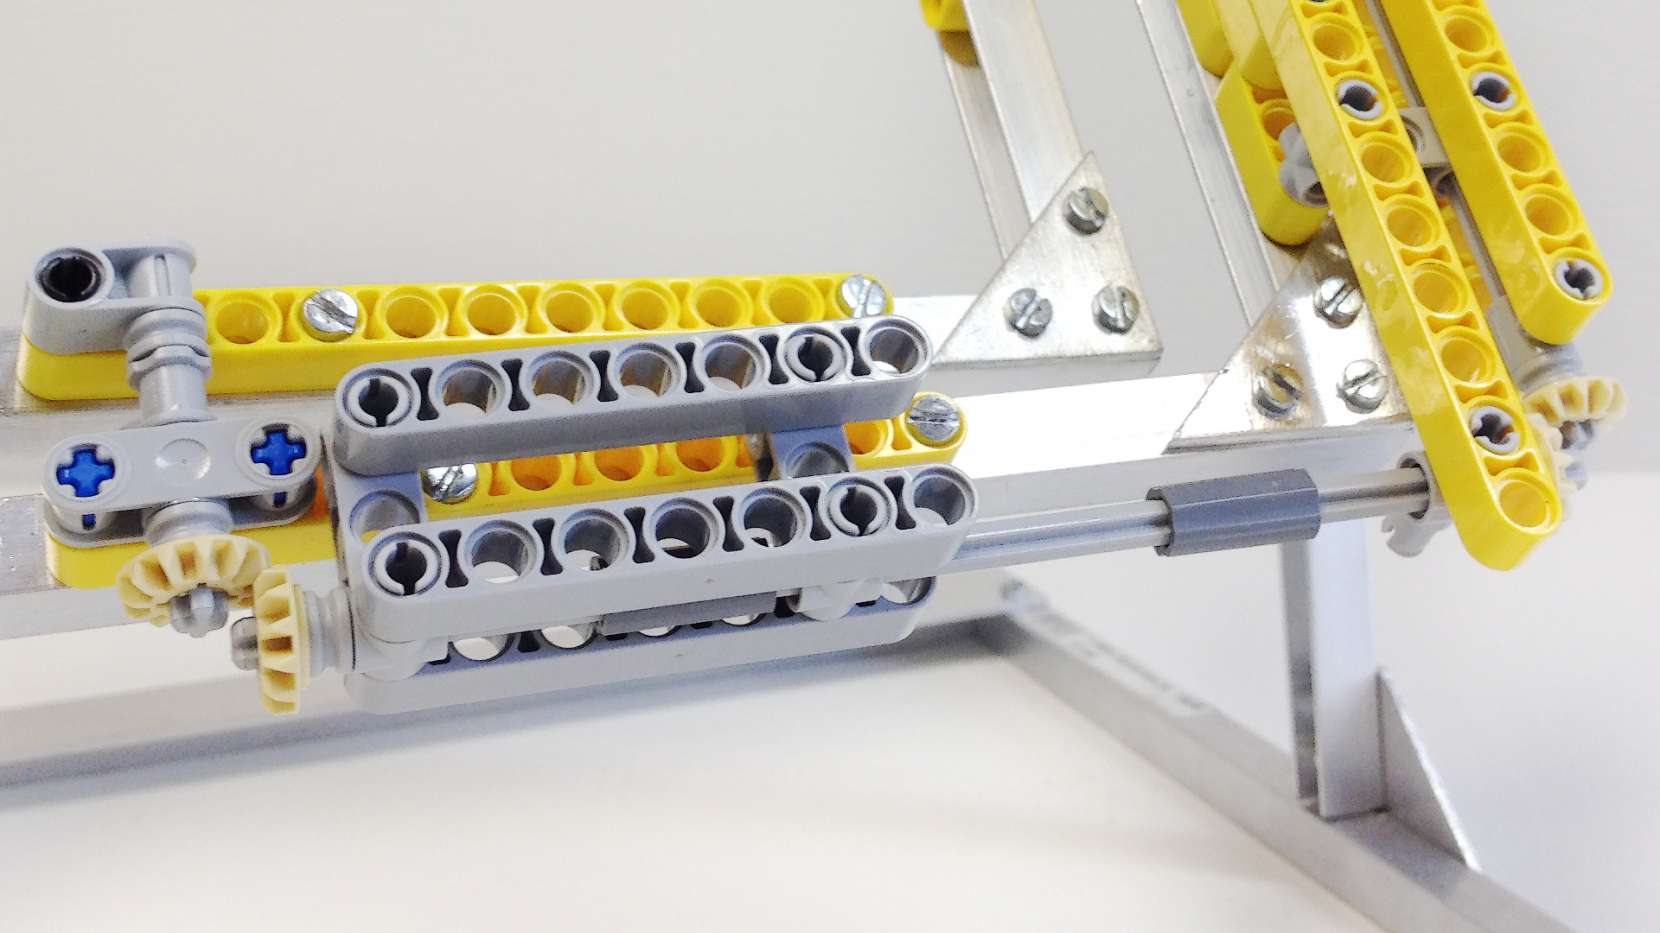
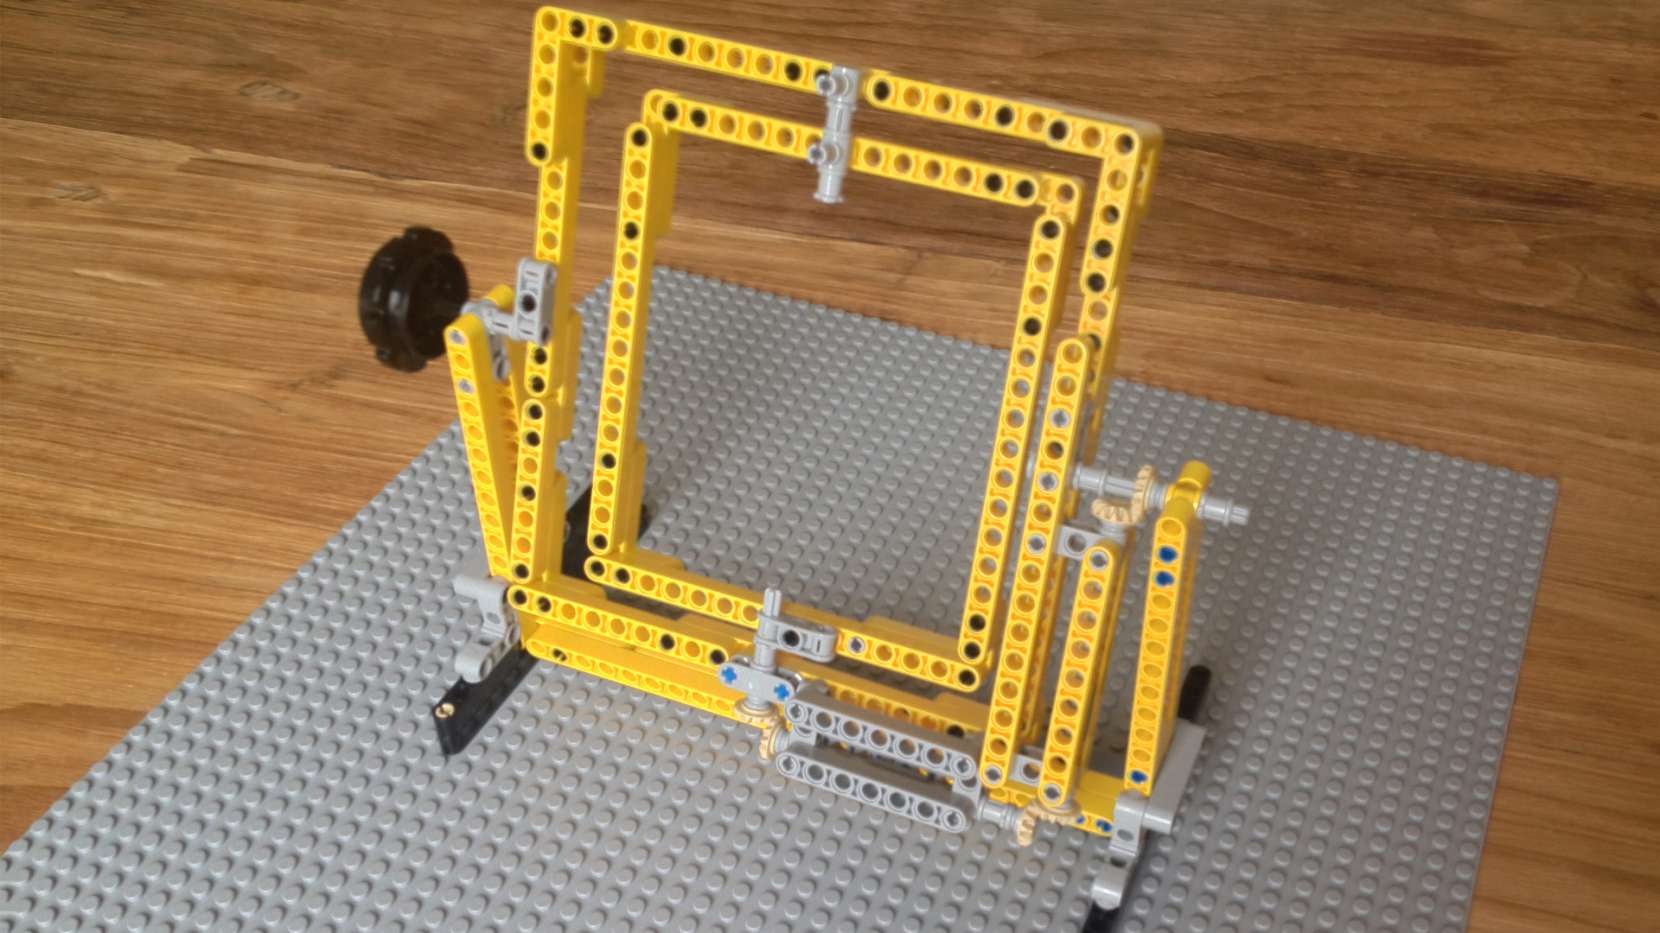
I was looking for a way to increase the speed of reproducing 3D printed parts, so i stumbled upon rotational molding and spin casting. With this technique you can reproduce many identical parts from a successful 3D print. Rotational molding machines are made in a wide range of sizes (example). They normally consist of moulds, an oven, a cooling chamber, and mold spindles. The spindles are mounted on a rotating axis, which provides a uniform coating of the plastic inside each mold.

A small DIY Rotational Casting Machine is a solution to bridge the gap between rapid prototyping and the cost of producing thousands of hollow cast parts.

Makers make their own tools, 3D printed parts are most of the time rather small, so i decided to build my own “desktop rotocaster”. The prototype was created with Lego. Some parts are replaced with a bigger lightweight aluminium frame in a later stage. There’s still room for improvement, after using it a couple times it probably needs some adjustments and an engine for sure…

A mold filled with resin is placed into the “desktop rotocaster” where it is slowly rotated (usually around two perpendicular axes) causing the liquid resin to uniformly disperse and stick to the walls of the mold where it slowly cures over time into the shape of the part. In order to maintain an even thickness throughout the part, the mold continues to rotate at all times during casting phase and curing phase.
One of the major advantages of “Rotocasting” a hollow part is the savings in materials and weight. If an object does not require to be solid, why cast it solid and waste materials?

Next up: preparing the mold… to be continued…